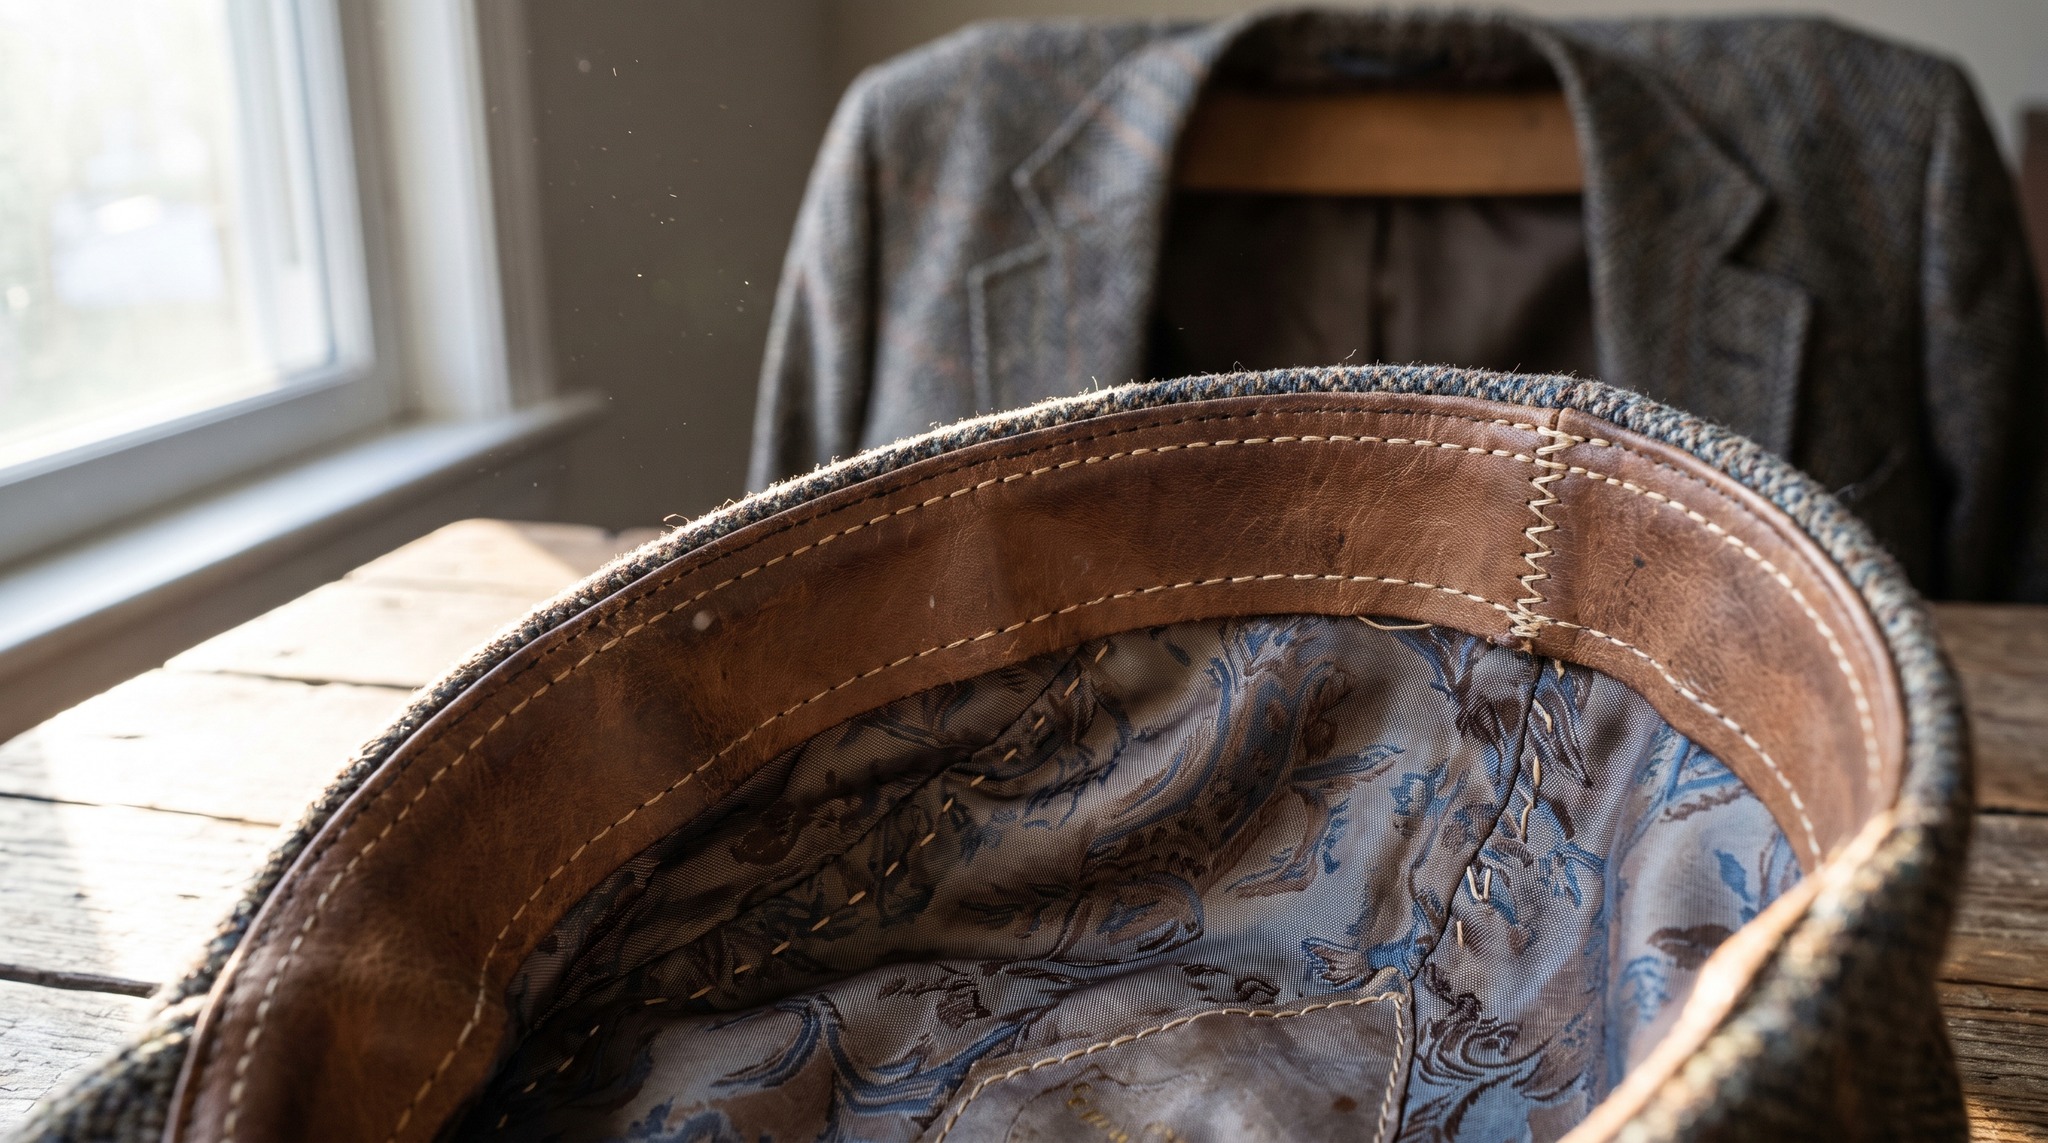
Replacing Cap Lining: Renewing Sweatband and Inner Fabric
High-quality headwear often accompanies its wearer for years, yet the interior shows signs of wear earlier than the outer fabric. The sweatband becomes discolored, the inner fabric turns brittle or comes loose at the seams. Those who do not wish to give up their favorite cap face the question: Can the lining be renewed? The good news: With some manual skill and the right materials, replacement can be accomplished at home.
When Replacement Makes Sense
A new lining makes sense when the outer fabric quality is still flawless, but the interior becomes unsightly. Typical signs: The sweatband has darkened and can no longer be cleaned, the inner fabric smells musty despite washing, or the seam between lining and brim is coming apart. Particularly with Caps made from high-quality materials such as wool or linen, the effort justifies the work. Cheap cotton caps from discount stores rarely warrant the intervention.
Materials for the New Interior
Cotton grosgrain ribbon in a width of 15 to 20 millimeters is suitable for the sweatband. It should be breathable and absorb moisture well. Light cotton lining or viscose twill, both with a weight between 80 and 120 grams per square meter, prove effective as inner fabric. Synthetic lining may be cheaper, but it retains odors and feels unpleasant on the skin. Additionally, one needs sewing thread in a matching color, pointed scissors, and a sewing needle with a blunt tip for thicker fabrics.
Removing the Old Lining
First, carefully open the seam that connects the sweatband to the brim. A seam ripper makes the work considerably easier. Then detach the lining from the inner crown, usually it is only fixed at a few points. Important: Do not discard the old lining, but keep it as a pattern. This allows exact transfer of shape and size. The cap should then be thoroughly aired, any adhesive residue can be removed with a lint-free cloth.
Cutting and Preparation
The old lining serves as a template for the new cut. Place it on the fresh fabric, trace the contour, and add one centimeter seam allowance all around. For the sweatband, measure the head circumference of the cap and add two centimeters for overlap. Finish the cut edges with pinking shears or by hand finishing, so the fabric does not fray. If desired, the new lining can be rinsed once before sewing in, so it does not shrink later.
Sewing in the New Lining
The sweatband is attached first: Place it inside against the crown, overlapping at the back, and sew it firmly with small, even stitches. The inner fabric follows. It is fixed to the crown at several points, usually four to six stitches in a circle suffice. Finally, connect lining and sweatband to the brim with a continuous seam. This should run as invisibly as possible, a ladder stitch is particularly suitable for this. Maintain even thread tension so no waves form.
Care After Renewal
After replacement, treat the cap like a new piece. Sweat stains can be minimized through regular airing. If necessary, clean the sweatband locally with mild soapy water and a damp cloth, without soaking the entire cap. Those who wear their headwear daily should use at least two pieces alternately. This gives each piece time to dry, and the lining lasts considerably longer.
Related items: Men's Jewelry, Suits, Suits and jackets. The complete range: Men's Fashion and Accessories.
All Il Padrino Moda news at a glance
Related categories: Men's Jewelry, Suits, Suits and jackets. The full range: Men's Fashion and Accessories.
Read more: Reinforcing Luggage Corners: Retrofitting Metal Fittings, Ironing Pleated Trousers: Steam, Heat, Pressing Cloth, Bracelet Clasp: Lobster, Magnetic or Spring Ring Clasp Compared, Jacket Shoulder Pads: When Reinforcement Changes the Line, Leather Travel Bag: Checking Handles, Seams, and Reinforcements